Connect To NFS Share From Windows
Description:
Follow this guide to connect to a NFS mount from a Windows machine.
To Resolve:
-
First install the
Services for NFSfeature in add/remove programs or powershell.1
Install-WindowsFeature FS-NFS-Service -IncludeAllSubFeature -IncludeManagementTools
Default mounts as read only:
mount -o anon \\192.168.10.20\mnt\vms z: -
Login to NFS server and get the UID and GUID of a user with write permissions.
-
Then on the Windows box:
1
2
3
4
regedit
HKEY_LOCAL_MACHINE\SOFTWARE\Microsoft\ClientForNFS\CurrentVersion\Default.
# Create a new New DWORD (32-bit) Value inside the Default folder named AnonymousUid and assign the UID found on the UNIX directory as shared by the NFS system.
# Create a new New DWORD (32-bit) Value inside the Default folder named AnonymousGid and assign the GID found on the UNIX directory as shared by the NFS system.
-
Restart the
NFS clientservice or reboot the computer, now the mount should have the appropriate permissions-
First time connecting takes a long time, after that it is much faster.
-
If this still isn’t working, check your
nfs exportsfile on the Linux box to ensure it allows connections from Windows machines.
-
-
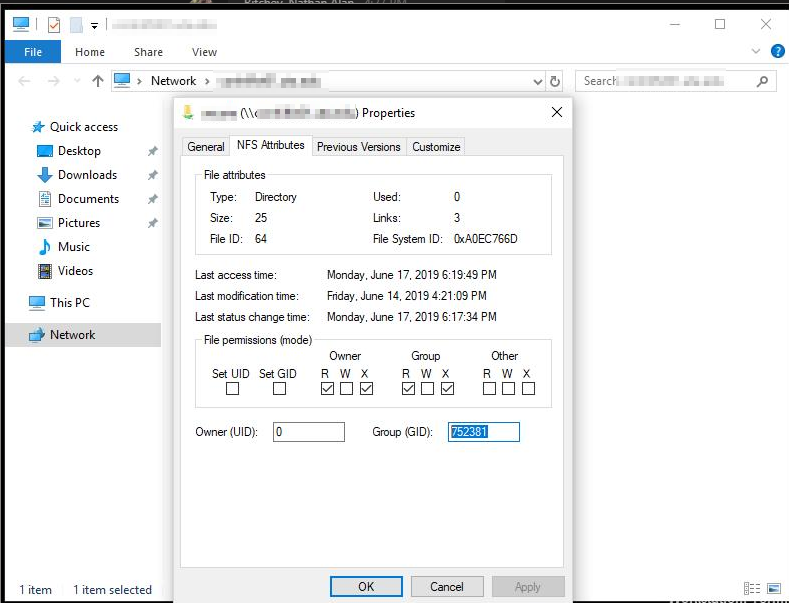
2019-06 Update: One thing to check is the
NFS Settingstab in File Explorer to get the appropriate UID and GID to set- For example:

Comments